
[iOS] Touch Event Handling
앞서 iOS에서 이벤트의 흐름에 대한 로직과
이벤트를 처리할 객체 즉, firstResponder를 결정하는 과정
그 과정에서 hitTest의 사용을 알아 보았다.
관련 내용은 다음 포스트를 참고
복습한다 생각하고 간단하게 설명을 하자면
iOS는 이벤트(터치, 모션등등)를 받으면 Event Run Loop를 통해 처리를 위한 적절한 Object에 해당 이벤트를 전달한다.
이 때 터치이벤트의 경우 적절한 Object란 hitTest를 통해 터치 이벤트가 발생한 위치에서 View 계층 구조상 가장 깊은 View이자 가장 앞에 존재하는 View를 말하며 이 View가 firstResponder로 설정된다.
firstResponder가 이벤트를 처리하지 않는다면 이벤트를 처리할 다음 responder로 전달을 해야하는데
이 때 순서는 responderChain에 의해 전달받는 순서가 결정되어진다.
어느정도 흐름에 대해 알았으니 이제 실제로 전달받은 이벤트를 처리해보자
주로 많이 사용하는 Touch Event를 처리할 것임
터치 Phase
UIKit은 터치 이벤트의 phase에 따라 각각
touchsBegan(_:with:) : 터치의 시작
touchsMoved(_:with:) : 터치가 시작되고 움직일 때
touchsEnded(_:with:) : 터치를 한 손을 떼었을 때
touchsCancelled(_:with:) : 외부 인터럽트에 의해 터치가 중단될 때 ex) 전화 연결
4가지 메소드를 호출한다.
해당 메소드들을 재정의 하면 각 phase에 마다 이벤트를 처리할 수 있다.
예제
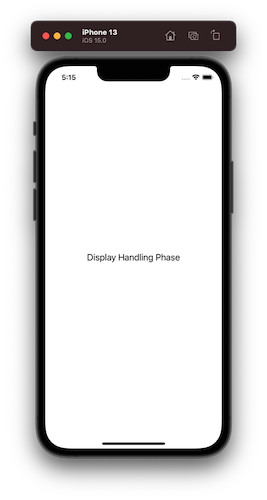
UIView를 서브클래싱하여 각 phase를 label을 통해 보여주려고 한다.
class TouchHandlingView: UIView {
    lazy var handlingPhaseLabel: UILabel = {
        let label = UILabel()
        label.text = "Display Handling Phase"
        label.font = UIFont.systemFont(ofSize: 20)
        label.textAlignment = .center
        return label
    }()
    override init(frame: CGRect) {
        super.init(frame: frame)
        setAutolayout()
        backgroundColor = .white
    }

    private func setAutolayout() {
        addSubview(handlingPhaseLabel)
        handlingPhaseLabel.snp.makeConstraints { make in
            make.leading.trailing.equalToSuperview().inset(16)
            make.center.equalToSuperview()
        }
    }

    required init?(coder: NSCoder) {
        fatalError("init(coder:) has not been implemented")
    }
}

// MARK: - Handlig method
extension TouchHandlingView {
    override func touchesBegan(_ touches: Set<UITouch>, with event: UIEvent?) {
        handlingPhaseLabel.text = "touches Began"
    }

    override func touchesMoved(_ touches: Set<UITouch>, with event: UIEvent?) {
        handlingPhaseLabel.text = "touches Moved"
    }

    override func touchesEnded(_ touches: Set<UITouch>, with event: UIEvent?) {
        handlingPhaseLabel.text = "touches Ended"
    }
    override func touchesCancelled(_ touches: Set<UITouch>, with event: UIEvent?) {
        handlingPhaseLabel.text = "touches Cancelled"
    }
}
그리고 ViewController의 view를 TouchHandlingView로 변경해주었다
class ViewController: UIViewController {
    var handlingView = TouchHandlingView(frame: .zero)

    override func viewDidLoad() {
        super.viewDidLoad()
        handlingView.frame = view.frame
        view = handlingView
    }
}

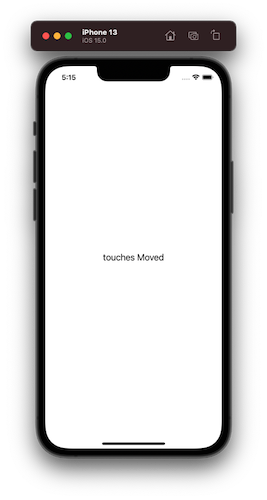

예상대로 잘 나온다!
위 4개의 메소드들은 UIResponder 객체에 정의되어 있다.
그렇다면 UIResponder를 상속받고 있는 UIViewController에서 4가지 메소드를 오버라이드 하여도
같은 결과가 나올것이다.
TouchHandlingView에서 오버라이드한 4개의 메소드를 ViewController로 옮기고 약간 수정을 해보고
확인해보았다
extension ViewController {
    override func touchesBegan(_ touches: Set<UITouch>, with event: UIEvent?) {
        handlingView.handlingPhaseLabel.text = "touches Began"
    }

    override func touchesMoved(_ touches: Set<UITouch>, with event: UIEvent?) {
        handlingView.handlingPhaseLabel.text = "touches Moved"
    }

    override func touchesEnded(_ touches: Set<UITouch>, with event: UIEvent?) {
        handlingView.handlingPhaseLabel.text = "touches Ended"
    }
    override func touchesCancelled(_ touches: Set<UITouch>, with event: UIEvent?) {
        handlingView.handlingPhaseLabel.text = "touches Cancelled"
    }
}
마찬가지로 잘 나온다.
댓글남기기